"Mama"

"Mama"
"Mama" by my daughter age 3

Wednesday, January 28, 2015

Radial Symmetry Snowflakes


Students learned about the “Snowflake Man” Wilson Bentley. A self educated farmer, Bentley attracted world attention with his pioneering work in the area of photomicrography, most notably his extensive work with snow crystals (commonly known as snowflakes). By adapting a microscope to a bellows camera, and years of trial and error, he became the first person to photograph a single snow crystal in 1885.


This lesson focused on radial symmetry. Each student painted one snowflake. We began by folding the paper into eight lines. Each line became one point of the snowflake. Students then decorated their snowflakes with shapes and lines. The only rule was that it had to be symmetrical.  After the snowflakes were painted, students created patterns around the boarder.

Mardi Gras Self Portraits


3rd graders learned about the history of Mardi Gras through a short video and Power Point Presentation. Mardi Gras, refers to events of Carnival celebrations, beginning on or after King's Day (January 6) and ending on the day before Ash Wednesday. Mardi Gras is French for "Fat Tuesday". It is a celebration reflecting the practice of the last night of eating richer, fatty foods before the ritual fasting of the Lenten season, from the Catholic religion.  Popular practices on Mardi Gras include wearing masks and costumes, dancing, sports competitions, music, and parades.


3rd graders reviewed how to draw a self- portrait. They also drew a Mardi Gras mask over their eyes. Once done drawing, they traced in Sharpie and then colored in with crayon. Students then cut out portraits and glued them onto purple background paper. They then added unique details to portraits including feathers, sequences, and Mardi Gras beads.

Green Bay Packers


Even though we lost the NFC, we will always love our Packers. Students reviewed free form and geometric shape for this project. Learning targets were cutting smooth edges on their shapes and using the correct amount of glue.

Mardi Gras Masks


5th graders learned about the history of Mardi Gras through a short video and Power Point Presentation. Mardi Gras, refers to events of Carnival celebrations, beginning on or after King's Day (January 6) and ending on the day before Ash Wednesday. Mardi Gras is French for "Fat Tuesday". It is a celebration reflecting the practice of the last night of eating richer, fatty foods before the ritual fasting of the Lenten season, from the Catholic religion.  Popular practices on Mardi Gras include wearing masks and costumes, dancing, sports competitions, music, and parades.

Learning Targets:

I can completely cover my mask form with 2-3 layers of overlapping pieces of paper.
I can smooth down the pieces of paper.

I can add unique details to my mask.

Wednesday, January 21, 2015

Winter Self Portrait


Adaptive Art Winter Self Portrait


Painted Rainbow Skyline


2nd Graders have been learning all about the color wheel and color mixing. We reviewed the PRIMARY colors, red, yellow, and blue. They learned that the primary colors mix the SECONDARY colors, purple, green, and orange.

Students first completed a worksheet to figure out which colors make purple, green, and orange.

Blue and yellow make green.
Yellow and red make orange.
Red and blue make purple.

For their project students were only given the primary colors and used them to mix the secondary. They painted a yellow sun, and then created a rainbow pattern. Students then used cardboard to stamp winter trees in black paint. Lastly they used marker caps to create snowflakes.


Medieval Knights


Students learned about knights who lived in the middle ages. The middle ages lasted from 500 A.D to 1500 A.D Knights were paid by the king to fight for him in the form of money and land. Knights are a large part of medieval history and are still very well known today. Students watched a video and a reviewed the information through a Power Point. They learned how one became a knight, the life of a knight, about the armor, weapons and more.

       Students first traced a basic shape of a knight in armor. They then added details using line and pattern to fill in the armor. Students then drew a shield and chose a weapon of the times for their knight. They then transferred the drawing to metal tool by tracing their knight with a special wooden tooling tracer.
      
       Students learned how to create repousse in the metal knight by pushing on one side of metal to create an area in their knight that pops out three dimensionally. They then added an ink wash, cut out their knight, and created a castle background to be glued to.


       They did such a great job! This has been one of my projects that I’ve done with a class!

Snowman Scoops


2nd and 3rd graders read the story Snowmen at Christmas. We discussed the illustrations in the book and how the illustrator was able to make the snowmen look realistic. The students noticed that the snowmen had shadows on one side. We discussed that adding shadows and highlights to our artwork creates VALUE.

Students first drew the snowman and cone in pencil. They then painted it in with tempera paint. Without rinsing their brushing they added the shadow to the snowman and color mixed the blue and white paint right on their paper. They used the same technique when painting their cone, except adding a highlight on the opposite side of the shadow.


Once the paint dried students used oil pastels to add all the details of the snowman, Lastly, they added a little bit of glitter gloss to the snowflakes and the outline of the snowman.

**Lesson idea from Exploring Art: Elementary Art Blog**

Friday, January 16, 2015

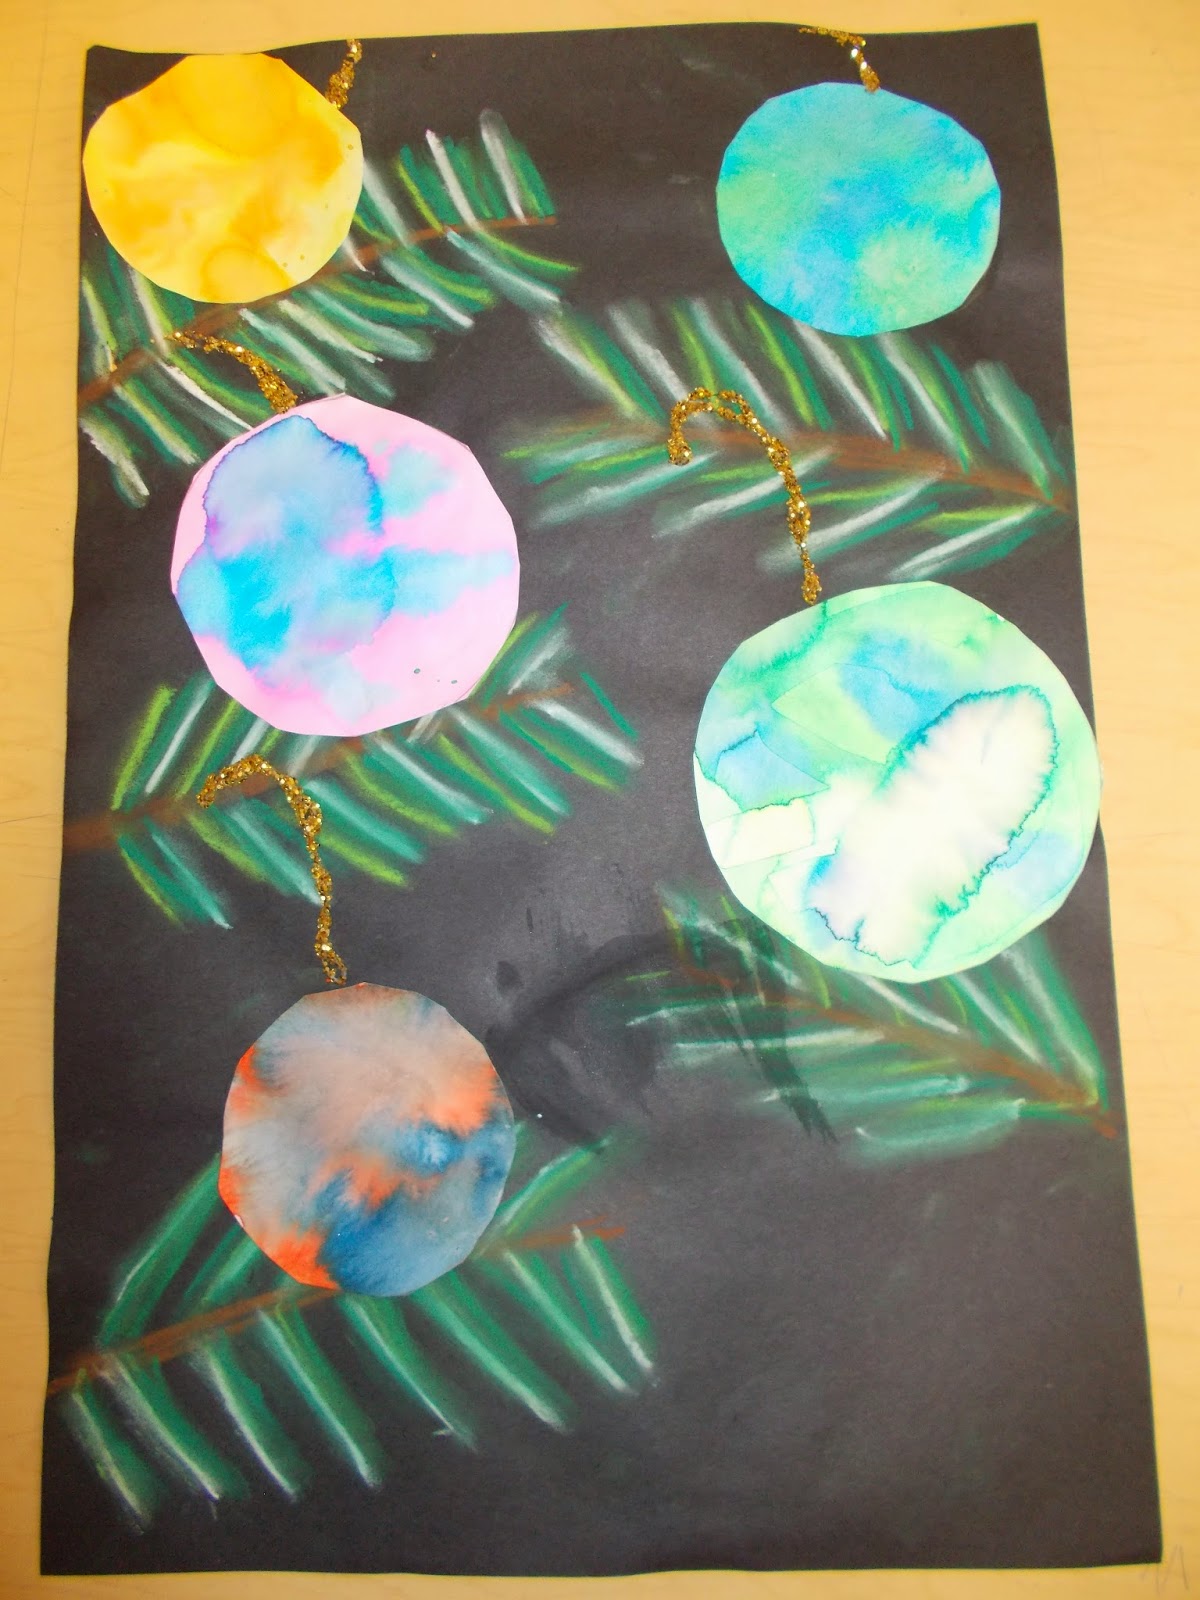
Tree Ornaments


This was a quick one- two day project I did with a 5th grade section that was ahead of the other classes. We discussed blending and values of color again. Easy, fun project right before Christmas.

Thursday, January 15, 2015

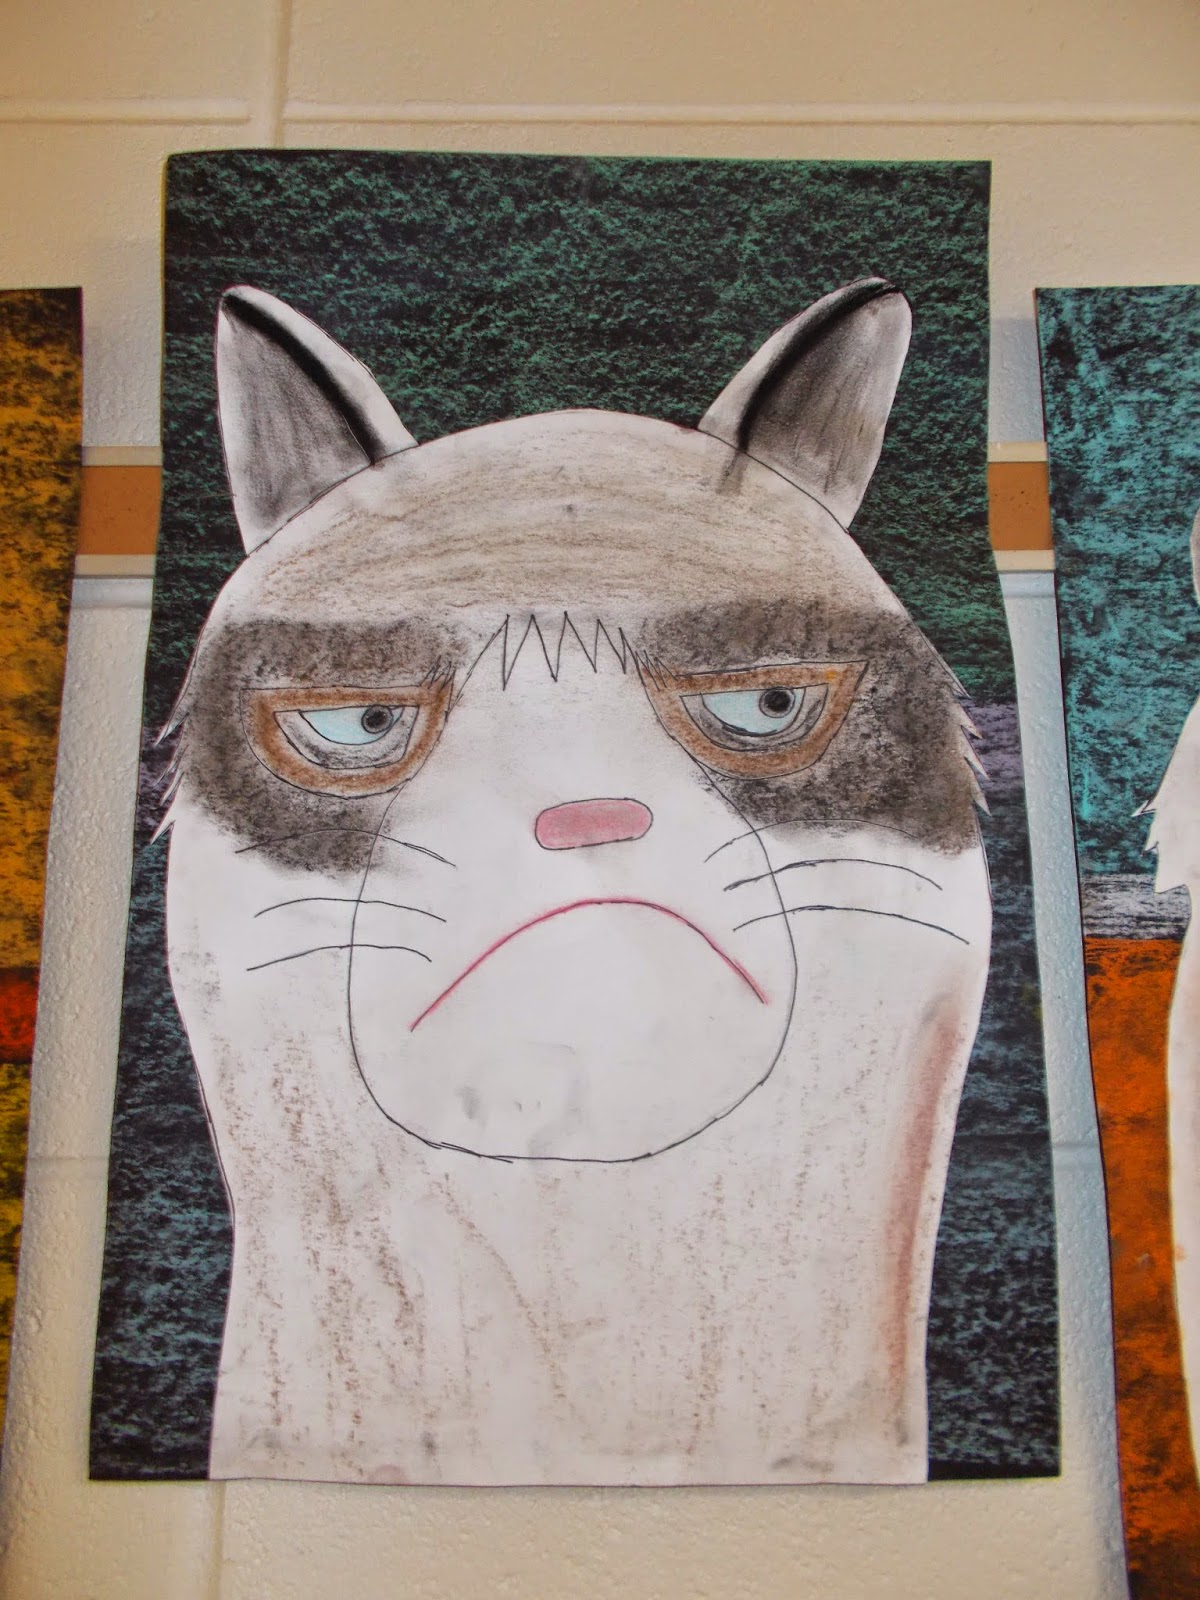
Grumpy Cat


5th graders have been learning about different parts of color theory for the last month. For this lesson, the students were learning about VALUE. Value is the range of light and dark in a picture. Value is often created with the NEUTRAL colors; black, white, brown, and gray. Students first practiced creating value by completing a worksheet where they made a value scale using a coloring and crosshatching technique. They then created value on five different shapes.

For their project, the fifth graders drew internet sensation, Grumpy Cat. They did a pencil drawing first and then traced in Sharpie. Students then used chalk pastels to color in Grumpy Cat.  Grumpy Cat is mainly neutral colors in varying values. Students needed to create areas of value in their drawing.

Learning Targets:

I can create a neat drawing with little to no eraser marks.
I can trace slowly and carefully on the original pencil lines.

I can create value.

**Idea from MaryMaking**

3D Paper Chameleons (or lizards)


Third Graders read the story The Mixed Up Chameleon by Eric Carle. They then looked at different examples of famous sculptures. We discussed that sculptures/ 3D art is art that you can see all the way around.
Students first made a pattern on colored paper and then folded and cut the paper to create the chameleon’s body. Next they added the head, legs, eyes, and tongue.
Lastly, they used patterned rolling pins and neon paint to create a background for their sculptures. Chameleons are known to change color to blend in with whatever they are standing near.
Learning Target:
I can describe 3D art.
I can make a pattern.

I can cut using technique demonstrated by the teacher.

*Idea from Artolazzi (thanks Jenny!)

Santa's Jacket


1st graders continued their study of different types of lines used in art. To draw Santa’s jacket they used vertical, horizontal, zig zag, and curved lines. Once the pencil drawing was complete, students traced all pencil lines in black crayon. We then reviewed proper painting techniques. Students painted in the jacket, paying close attention to how they held their paintbrush, and rinsing their brush between colors. And lastly, they outlined each line with glue and added 4 different colors of glitter. They did a great job!